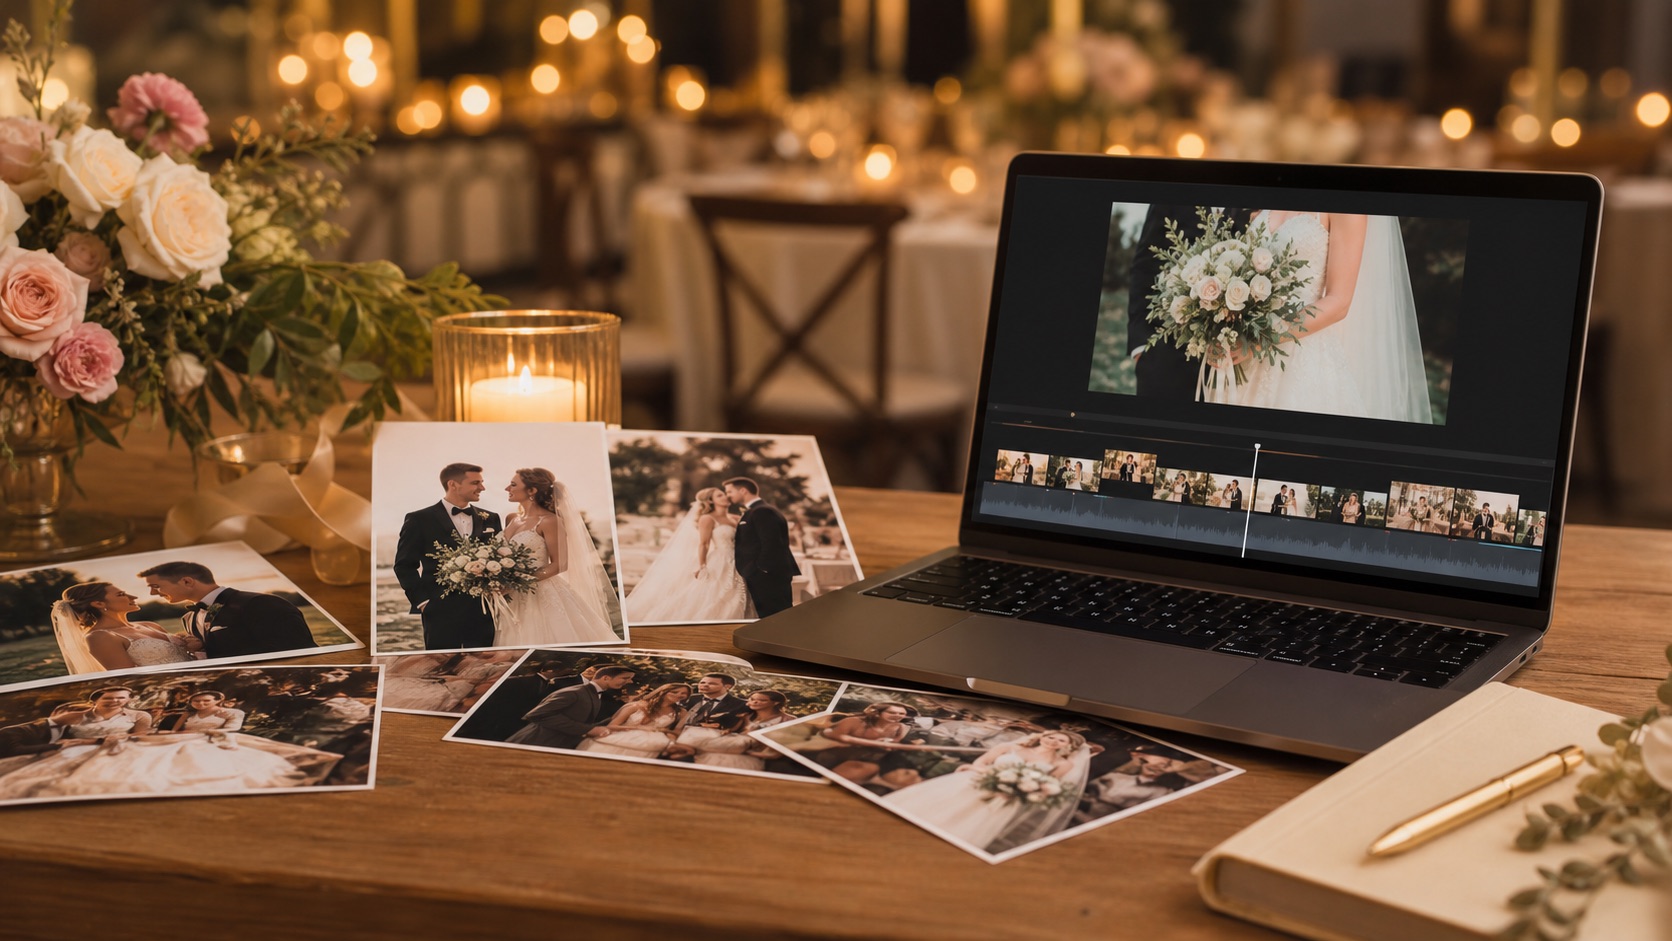
The short answer
To make a wedding video from photos, first choose a clear story and arrange your strongest images in order. Animate a small number of key photos with subtle motion, place those clips and the remaining still images on a video timeline, add licensed music and simple titles, then export and test the finished MP4. A three-to-five-minute film is a practical target for most receptions and keepsakes.
What you need before you start
A curated photo folder
Use original, high-resolution images when possible instead of compressed screenshots.
An image-to-video tool
Use Photo to Video AI to add natural movement to the most important still images.
A timeline editor
Combine the short AI clips, remaining photos, titles, and transitions into one film.
Music you can legally use
Choose a licensed or royalty-free track that matches the pace and intended audience.
Step 1
Choose the story and target length
Do not begin by dropping every photo into a timeline. Decide what the video is for and what viewers should feel at the end. A reception film can tell the couple's story, while a social highlight should focus on a few instantly recognizable moments.
| Video type | Good length | Suggested photos |
|---|---|---|
| Social teaser | 30–60 seconds | 8–15 |
| Wedding highlight | 2–3 minutes | 20–40 |
| Reception or keepsake | 3–5 minutes | 30–60 |
These are starting points, not strict rules. A smaller set of meaningful photos usually feels more intentional than a long sequence of near-duplicates.
Step 2
Select and organize the wedding photos
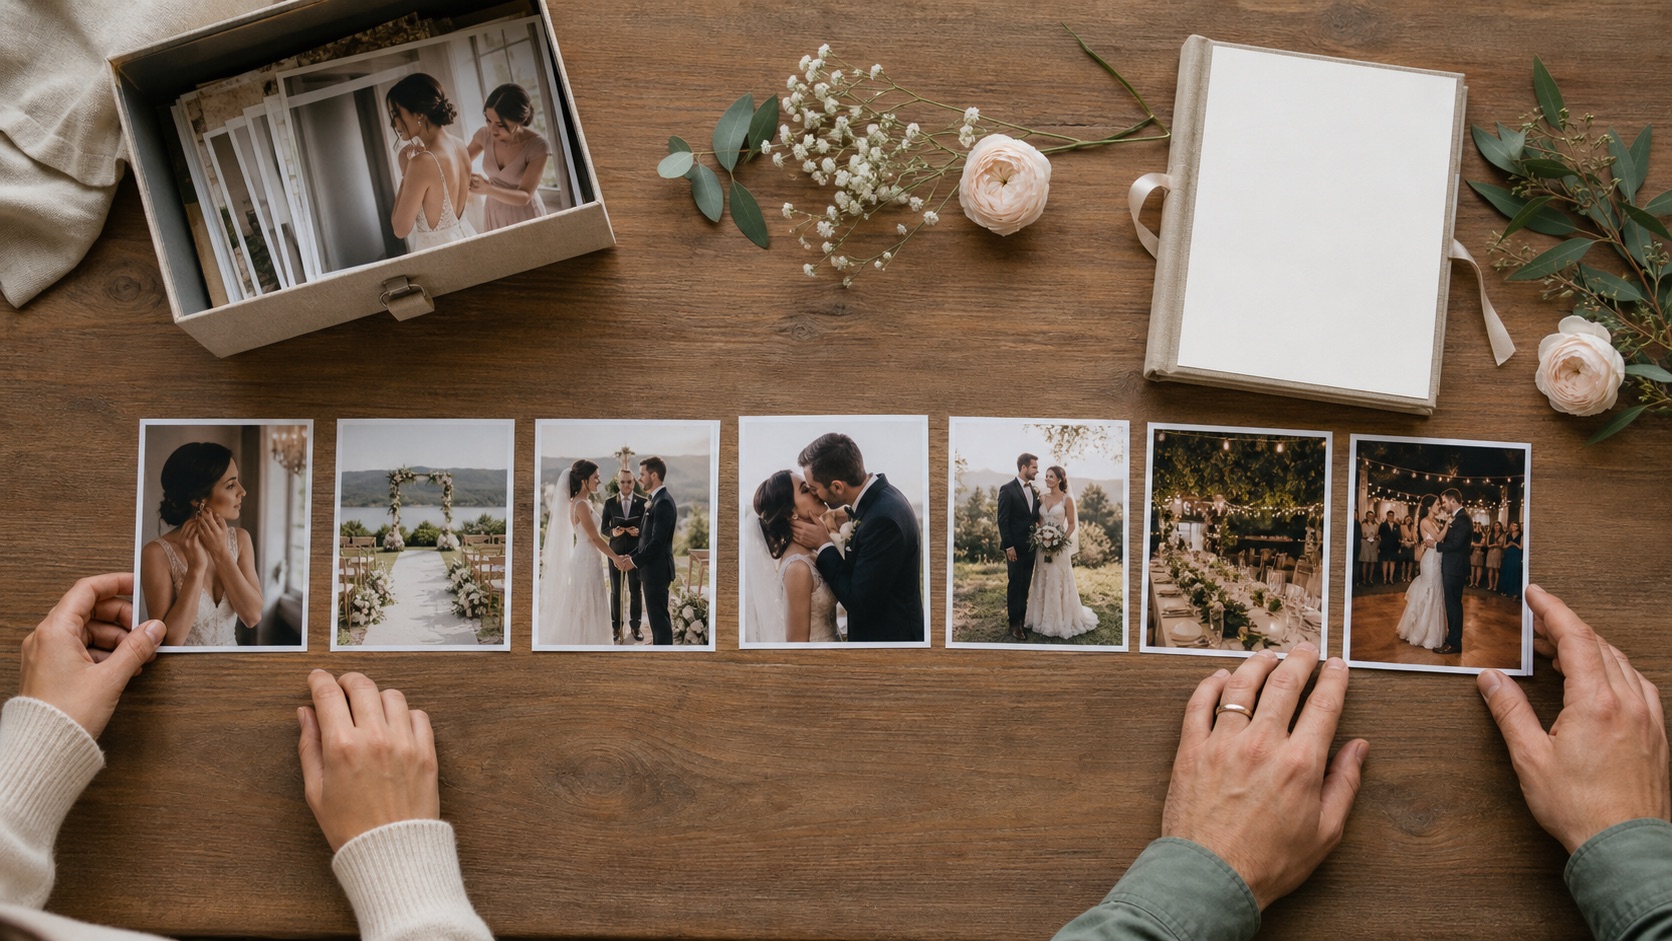
Build a beginning, middle, and ending. Start with a strong establishing image, move through the day in a recognizable order, and finish with a photograph that feels conclusive.
- 1Opening: venue, invitation details, rings, or a favorite portrait
- 2Before the ceremony: getting ready, family, and first look
- 3Ceremony: entrance, vows, ring exchange, and first kiss
- 4Portraits: couple, wedding party, and immediate family
- 5Reception: entrance, speeches, cake, first dance, and guests
- 6Closing: send-off, night portrait, or a simple final message
Step 3
Prepare the photos for animation
AI animation works best when the subject is clear and the image is not heavily compressed. Before uploading, straighten the photo, correct the crop, and make gentle exposure adjustments. Keep faces natural; aggressive beauty filters and sharpening can make motion less consistent.
- Prefer original JPG, PNG, or WebP files
- Remove screenshots, borders, and duplicate exports
- Use a landscape crop for a 16:9 reception video
- Keep important faces away from the extreme edges
- Retouch dust and major scratches on scanned photos
- Save a copy before cropping or color correction
Animate a wedding photo with AI
Turn your favorite photo into a short video clip
Upload a wedding photo, describe the movement you want, and generate a clip you can add to your final wedding film.
Step 4
Animate key wedding photos with AI
Animate only the photos that benefit from movement: a veil in a breeze, a slow camera push toward the couple, guests raising glasses, or soft movement in flowers and lights. Subtle prompts usually preserve faces and clothing better than dramatic action.
1. Upload one wedding photo
Open Photo to Video AI and choose a clear JPG, PNG, or WebP image.
2. Describe one main movement
State the subject motion, background motion, and camera movement in one concise prompt.
3. Generate and review the clip
Check faces, hands, clothing, and background details before accepting the result.
4. Download and repeat
Save the successful clip with a numbered filename, then repeat for the next key photo.
Wedding photo animation prompt examples
Couple portrait
Add natural blinking, subtle breathing, and gentle movement in the veil and flowers. Use a slow cinematic camera push-in. Keep both faces, clothing, and the background consistent.
Ceremony photo
Animate the couple with very subtle natural movement while flower petals drift softly in the breeze. Add a slow camera move forward and preserve all faces and wedding details.
First dance
Create a gentle swaying motion for the couple, soft movement in the dress, and warm lights glowing in the background. Keep the motion elegant and realistic.
Wedding venue
Add subtle movement to the trees, flowers, and fabric decorations with slowly changing golden light. Use a smooth cinematic camera push toward the venue.
Prompting rule of thumb
Ask for one subject action, one environmental movement, and one camera movement. Finish with the details that must remain unchanged. Avoid combining several dramatic actions in a five-second clip.
Step 5
Assemble the clips and photos in order
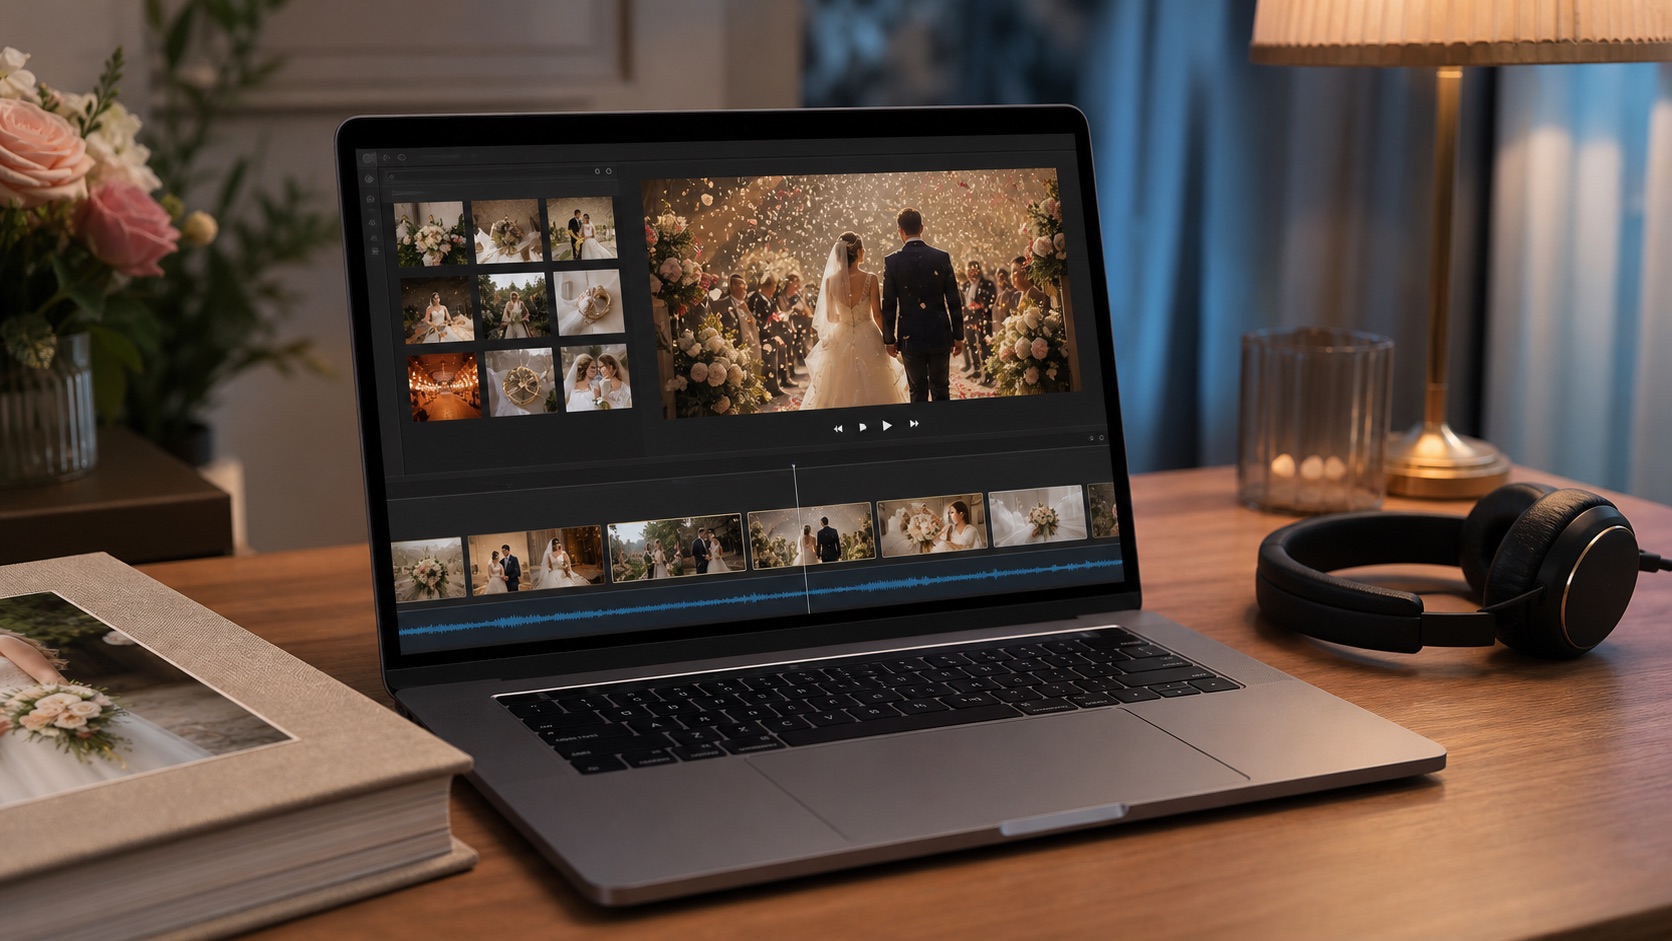
Import the AI-generated clips and the remaining still photos into a timeline editor. Use the animated clips as visual highlights, not for every image. This creates contrast and keeps the final film from feeling artificial or repetitive.
- Place assets in the story order you planned before editing.
- Hold important still photos for three to five seconds.
- Use simple crossfades or clean cuts instead of a different transition on every photo.
- Mix wide venue images, medium portraits, and close details to create visual rhythm.
- Leave a little extra time for vows, family photos, and the final frame.
Step 6
Add music, titles, and captions
Music controls the emotional pace, so choose it before making detailed timing changes. Use a track you have permission to include in the finished video. If the film will play during the reception, coordinate with the DJ or venue so two soundtracks do not play at the same time.
Opening title
Couple names and wedding date
Optional captions
Locations or short chapter labels
Closing frame
A final photo or simple thank-you
Keep typography consistent and readable. One or two font styles are enough. Avoid placing small text over detailed photos, and leave each title on screen long enough to read comfortably.
Step 7
Export and test the finished wedding video
Export a high-quality master copy, then create smaller social versions if needed. MP4 is the safest general delivery format. Match the aspect ratio to the screen where the video will be watched.
| Destination | Aspect ratio | Recommended export |
|---|---|---|
| TV, projector, YouTube | 16:9 | 1920×1080 MP4 |
| Reels, TikTok, Stories | 9:16 | 1080×1920 MP4 |
| Square social post | 1:1 | 1080×1080 MP4 |
Final playback checklist
- Watch from beginning to end
- Check names, dates, and spelling
- Listen for sudden volume changes
- Look for distorted faces or hands
- Test the exact reception device
- Keep a backup copy offline
Common wedding photo video mistakes
Using every available photo
Remove duplicates and keep only images that move the story forward.
Animating every frame
Use AI motion for key moments and let important still photos breathe.
Choosing movement that is too dramatic
Small facial, fabric, lighting, and camera movements are usually more convincing.
Adding too many transitions
Choose one or two subtle transition styles and use them consistently.
Ignoring music rights
Use a track with permission that covers the way you plan to share the video.
Skipping the venue test
Confirm the projector, television, speakers, cable, and file playback before guests arrive.
Frequently asked questions
How many photos do I need for a wedding video?
For a three-to-five-minute wedding video, 30 to 60 carefully selected photos is a practical starting point. Use fewer images for a slower, emotional film and more images for a faster recap. Quality and story progression matter more than reaching an exact number.
How long should a wedding photo video be?
A reception or keepsake wedding video usually works well at three to five minutes. A social media highlight can be 30 to 90 seconds. If you have a larger archive, create a short highlight first and keep the extended version for private viewing.
Can I make a wedding video from photos for free?
Yes. Photo to Video AI lets you try animating a photo without signing up. A complete multi-photo wedding film also requires arranging the generated clips and still images in a timeline editor, and additional AI generations may require an account or credits.
What is the best format for a wedding video?
MP4 is the most widely compatible delivery format. Use 16:9 for televisions, projectors, YouTube, and most reception displays; use 9:16 for Reels, TikTok, and Stories; and use 1:1 when a square social post is required.
Can old or scanned wedding photos be animated?
Yes. Scan the photo at a good resolution, straighten it, remove large borders, and lightly correct dust or fading first. Ask for subtle movement so the result respects the original face, clothing, and period details.
What music can I use in a wedding video?
Use music you created, licensed, purchased with the correct video rights, or obtained from a royalty-free library. A song being available on a streaming service does not automatically give you permission to include it in a public video.
Create the first clip for your wedding video
Start with one emotionally strong photo and a restrained motion prompt. Once the result looks natural, use the same visual style for the remaining highlights and assemble them into your final story.
Animate a wedding photo with AI
Turn your favorite photo into a short video clip
Upload a wedding photo, describe the movement you want, and generate a clip you can add to your final wedding film.